Friday, 3 May 2013
Wednesday, 1 May 2013
MY ANIMATIONS . UPDATE.
This is my updated animation that I'm going to use for the showreel in our group project
Tuesday, 30 April 2013
3D Animation Pipeline
 |
| sample of 3D animation pipeline |
3d animation process is divided into several important parts of pre-production, phase of production and post-production. There are good reasons for considering the design and planning process for the development of 3d animation.
PRE-PRODUCTION
(Planning and specification)
1. Concept and Storyboards
PRODUCTION
2. Animation
3. Lighting
4. Camera angles
POST-PRODUCTION
5. Compositing
6. Final animation approval.
My animations
In this post I'd like to show my progress. I'm attaching a movie that consists of my 4 animations played from different angles I want to use in final cinematic. It still needs tweaking and we have to add other animations but this is practically how my part is it going to look like
Tuesday, 23 April 2013
Week 5 - Motion Capture
Autodesk Motion Builder - is compatible with Autodesk Maya and other software from Autodesk. It allows us to visualise how our animation is going to look like and we can see it from different angles what makes Motion Builder an extremely helpful software for the animator. It is perfect tool for cleaning up the motion capture animation, pre-visualisation or character animations for 3D game industry in real time. I let's us for non linear editing of animation, modyfing and adjusting every aspect of the rig movement to the other objects and obstacles. Also it allows us automatically adjusting animation of the movement to different rigs even if they differ with proportions.
On the lecture we found out how to use motion builder, how to adjust the layout, how to import files and all the basics needed to start the work with this Software. It was very useful for people who want to focus on animation career.
My four animations
Video 1 - Shows the Extended Idle Pose
Video2 - My character crawling
week 8
I've been having problems with Trax Editor. Basically I have created all my 4 animations by now.
What is still to be done is putting them all together in trax editor so they're on one file. The issue is when I import all my animation clips into trax editor it only plays just a one animation. I've been struggling with this for 2 weeks now and it's still not done. I'm a little bit busy with working on the other modules so that's why it takes me so long.
What is still to be done is putting them all together in trax editor so they're on one file. The issue is when I import all my animation clips into trax editor it only plays just a one animation. I've been struggling with this for 2 weeks now and it's still not done. I'm a little bit busy with working on the other modules so that's why it takes me so long.
Tuesday, 16 April 2013
Principles of Animation
Like everything in the world animation as well has got its own principles. Keeping those rules might not be easy nevertheless skilled animators must follow them in order to keep their animations looking convincing and neat looking.
1.
Squash and Stretch
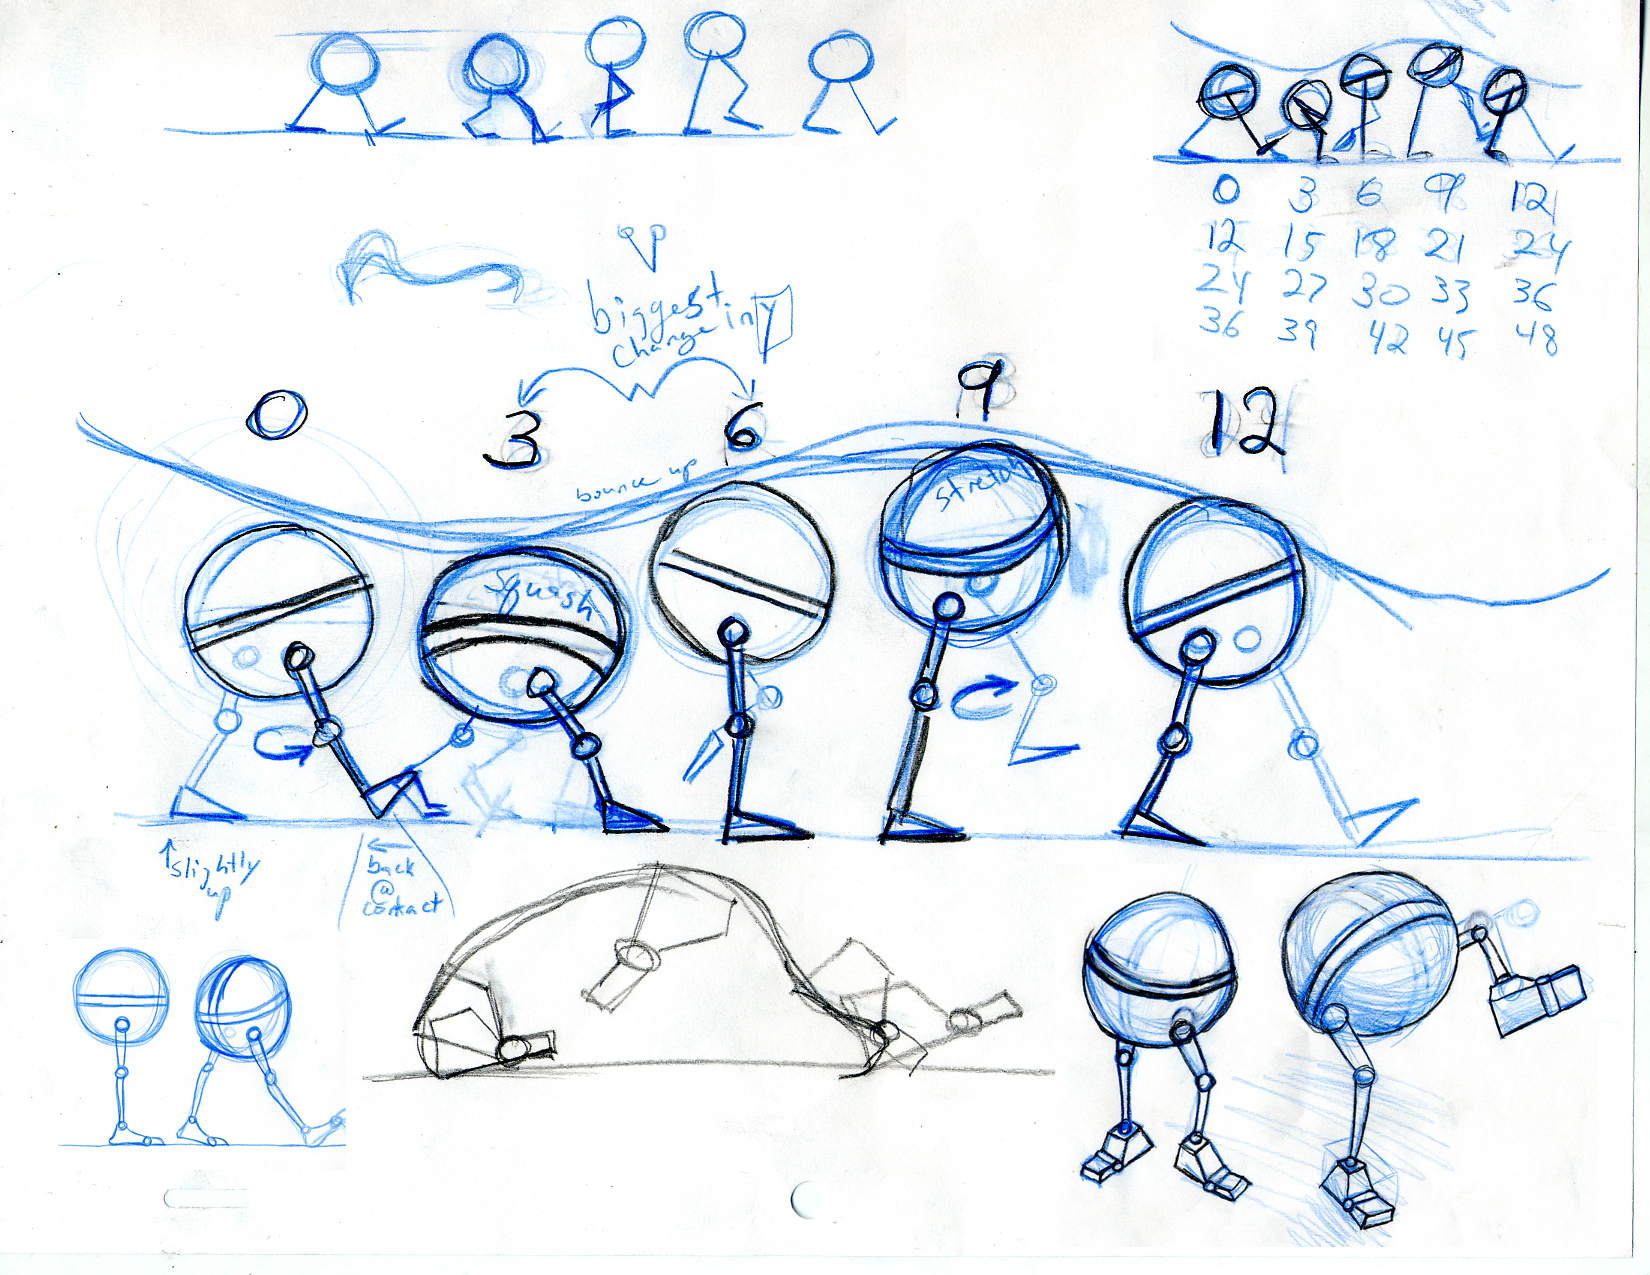
gives the weight and volume to the object when it interacts with environment. The perfect example for that rule is bouncing ball.
gives the weight and volume to the object when it interacts with environment. The perfect example for that rule is bouncing ball.
Squashed: An object to become
Shorter must also become Fatter.
Stretched: An object to become
Taller must become Thinner.
2.
Anticipation
You can notice this rule right before the character in the animation is moving. It means that character prepares himself for the action. For example if the character is playing golf he must prepare himself properly before hitting the ball.
You can notice this rule right before the character in the animation is moving. It means that character prepares himself for the action. For example if the character is playing golf he must prepare himself properly before hitting the ball.
3. Staging
The similar principle is using in the theatre and films. It’s about forcing spectator to look in a right direction and leading the action so the spectator knows what is most important in the scene. What is happening and what is going to happen. We can make that by setting the character in the proper place, setting the light in the proper direction and angle. We have to show and highlight important things and avoid unimportant details.
The similar principle is using in the theatre and films. It’s about forcing spectator to look in a right direction and leading the action so the spectator knows what is most important in the scene. What is happening and what is going to happen. We can make that by setting the character in the proper place, setting the light in the proper direction and angle. We have to show and highlight important things and avoid unimportant details.
4.
Straight ahead and pose to pose animation
These are two methods of making the movement. By using straight ahead method the action is displayed by drawing frame after frame from the beginning of animation to its end. This method is used for creating fast action scenes. Pose to pose method is all about creating key frames with strong poses and then filling frames in between with other poses. Usually animators links these two methods in their work.
These are two methods of making the movement. By using straight ahead method the action is displayed by drawing frame after frame from the beginning of animation to its end. This method is used for creating fast action scenes. Pose to pose method is all about creating key frames with strong poses and then filling frames in between with other poses. Usually animators links these two methods in their work.
5. Follow through and overlapping action
This principle makes the animating moves a bit more realistic and gives the impression that the character acts according to the real physics rules. For example a hand moves in different moment than head or a foot. In a human body the center of the movement is always a torso. Arms, legs, head and the hair always follow the torso.
This principle makes the animating moves a bit more realistic and gives the impression that the character acts according to the real physics rules. For example a hand moves in different moment than head or a foot. In a human body the center of the movement is always a torso. Arms, legs, head and the hair always follow the torso.
6.
Slow-out and slow-in. A human body and most of the items need time for
start the movement or to stop. For this reason animation looks more realistic
if it has more frames in the beginning and in the end of the move than in its
middle when the move is the fastest.
7. Arcs. In the
process of animation we should mind that moves of the human beings and animals
usually follow an arc or circular path. The exception is mechanic move that
follows the straight line.
8.
Secondary action – Adding secondary animation in the background usually
makes the move more realistic and highlights main parts of the animation. A
walking character, besides moving the arms might be whistling, talking to other
character or using facial expressions. It is better to add it on the beginning
or in the end of the main movement than in the middle.
9.
Timing. It’s difficult
and needs practicing Timing
gives the mood, emotion, and reaction to another character or to a situation. It
is all about giving the proper impression of the movement to the situation that
may lead to funny or dramatic effects.
10. Exaggeration . It is very important rule of animation. Exact projection
of moves in animation might seem to be boring and static. We have to exaggerate
almost every move to make animation more appealing, more interesting
11.
Solid drawing. Animator has to know the human anatomy and composition.
The sense of the balance and using the shadow is essential. In a classic
animation it is all about act study and life drawing. We have to mind
proportions and proper shapes of the objects in different phases of the
movement.
12.
Appeal that something essential in animation that can be
compared to the charisma of the actor. The character that appears on the screen
doesn’t have to be friendly looking. It is important for the spectator to feel
that the character is real and interesting.
Monday, 4 March 2013
PRIMARY RESEARCH 2
This is the video of me showing the moves I would like to use in my animation for my character
Tuesday, 26 February 2013
Monday, 25 February 2013
week 5
Last week I lost all my work and I had no back up files so I had to start doing my projects all over again but I think I have managed tocreate similiar idle pose as last time.
I'm uploading 4 different videos of my idle pose showing my character from different angles.
I'm uploading 4 different videos of my idle pose showing my character from different angles.
Monday, 18 February 2013
Wednesday, 6 February 2013
3rd Idle pose
Another idle pose I created is my character rig while crawling right before he puts his hand up in order to call for help. Basically this pose is to help me start to animate the crawl.
Tuesday, 5 February 2013
WEEK 3
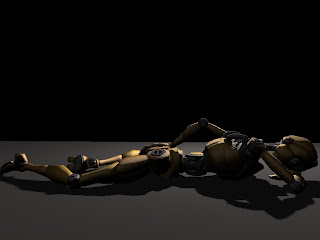
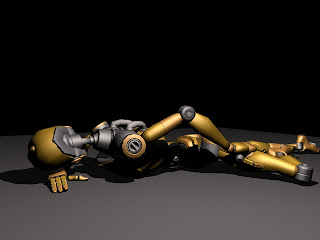
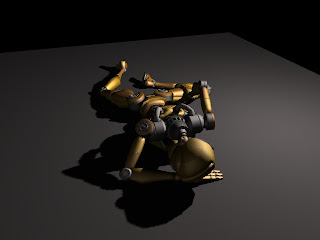
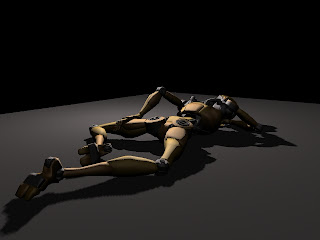
This pose is my Idle pose. A wounded warrior lying on the ground. He starts crawling in order to escape from a battle field.
The next pose shows the same warrior putting his hand up calling for help right before dying.
Thursday, 31 January 2013
Week 2
 |
| perspective view |
 |
| top view |
 |
| side view |
First Week
So this is more or less the first concept of our storyboard for animation project that we are going to do this semester. My part of an animation will be showing a wounded warrior crawling on the ground, then asking for help by putting his hand up and then being stabbed by another character with a sword.
Here you can see a first concept of storyboard that we are going to do.
Here you can see a first concept of storyboard that we are going to do.
Subscribe to:
Comments (Atom)


